
Making the armor. How they did it in the Middle Ages?
There’s not much information about the specific technologies of plate armor craftsmanship. But still we have different sources from that time such as illuminated manuscripts (medieval illustrations where we can see a craftsman doing his work) and descriptions of specific forging tools .
According to those historical sources there was a structure to the work organization of blacksmiths and other forge workers. Each of them was engaged in a certain part of armor manufacturing.
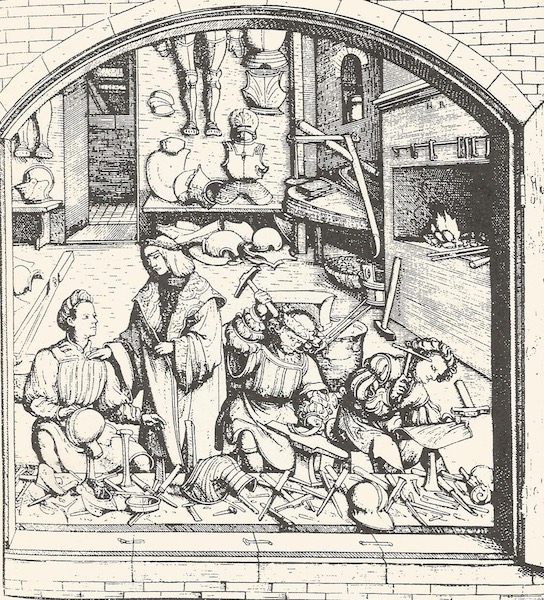
One very interesting manuscript consists of a list of German blacksmiths who worked in Greenwich in the XVI century. There we can read about how different craftsmen did different work: some of them forged the steel plates and formed the shape of armor, while polishers only did the finishing work of polishing, and locksmiths installed buckles and loops on armor. During the XV century, Milanese blacksmiths, known worldwide for their Milanese armor, had an even deeper division of work. One craftsman would make only one or perhaps a small selection of armor parts which would then help compose a complete set. Moreover, many workshops had their own specialists in engraving, incrustation, and gilding.
Until the XVII century, steel plates were mostly made from metal blocks. Blacksmiths used a special hummer which was moved with the help of a water-powered mechanism. It was rare to see a hand hammer in use. According to historical sources, in approximately 1500 in Germany craftsmen employed a special metal roller; a method of making steel sheets which became popular all over Europe.
Steel sheets had to be cut according to patterns of armor parts: steel legs, steel arms, spaulders, greaves, sabatons, cuirass, helmets. Then blacksmiths began to make the shape of the specific piece of equipment with the help of special steel form templates. They looked like many different anvils fixed vertically.
Cold forging was used to get a basic shape for the armor. But some parts such as curved edges or “ribs” could be done only by heating and tempering.
After all steel elements of the future armor were shaped, forged and hardened, the next – and most difficult – step arrived: gathering all the parts together and adjusting them to fit.
This was a very important process, since completed armor should have no gaps, should be comfortable to wear, unrestrictive, and articulated. And the most essential for the knight of the Middle Ages – his armor should protect him as much as possible during the numerous medieval wars.
Once the adjustment of the armor is completed, what next? Polishing, polishing, polishing. A polisher used not only his own hands for this task, but also a special mechanism; a kind of abrasive wheel powered by water.
If the armor had to be decorated with engraving or incrustation, it went to the engraver’s hands. Jewelers also had a part to play if the customer was really rich and noble.
The last few steps left before armor is battle (or perhaps parade?) ready. At the end of the armor manufacturing process, the locksmith had to attach all the buckles, loops, and fastenings. Quite often, armor had a linen covering on the inner side which had to be attached. The completed armor was proudly “signed” with the mark of the craftsman.
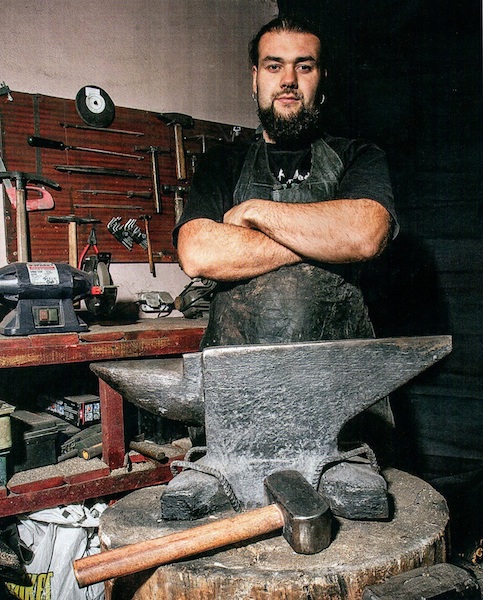
Nowadays modern blacksmiths use some of the techniques of medieval blacksmith craftsmanship. But producing HMB and IMCF armor is not only about medieval processes but also a knowledge of basic electric tool work.
The Battle of the Nations or WMFC require top quality armor; both in terms of the historicity of the armor and its protective qualities, which should complement each other.
In our workshop you’ll find tempered steel armor, titanium armor, padded stuff, and many other things you’ll need to start on your journey of medieval armored full contact fighting.